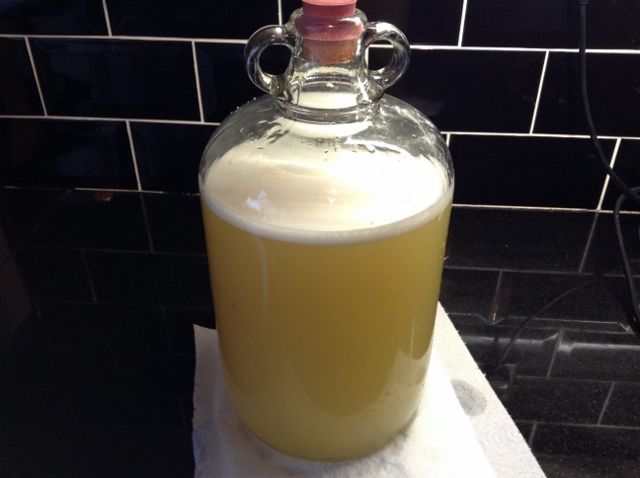
You will need:
Steriliser
A demijohn with a solid bung
A syphoning tube
Stabiliser
A Camden tablet
A sterile glass
And your gallon of fermenting mead
Depending on the conditions your mead has been fermenting in (temperature and light) it should now be quietly sitting there only bubbling through occasionally. It should be time to stop it fermenting and transfer it to a new demijohn to settle and clear. The stabiliser does the business of killing of the yeast and stopping the fermenting process.
Fermentation converts sugar to alcohol (basically speaking) so the longer you ferment the more alcoholic, but also the dryer the mead will be. You can use a hydrometer to test, or just have a taste. If it's too sweet for your liking then it needs a bit longer, if it's just right, or too dry then we can go ahead. I use the high tech method of a sterilised turkey baster to draw samples out of the demijohn.
Sterilise everything as always.

Use the syphoning tube to draw the mead out one demijohn and into the other, via a bit of muslin to strain out any little bits of lemon or bread that get brought through.

Draw off a glass of mead in the process and add a teaspoon of stabiliser and a crushed Camden tablet to give them time to dissolve.

If your mead was too dry here's an opportunity to back sweeten it and add a bit of honey to the demijohn. Some of mine have been very dry and have needed a lot of extra honey. Pour in your glass of stabiliser, fit a solid bung and give it a really good shake. Bear in mind that this will generate a bit of pressure in the demijohn so gently let a bit out after.

Done! Now that needs to go in a dark place to be forgotten about for a few more months.
No comments:
Post a Comment