Friday 29 January 2016

Mead

As you may remember I visited Paynes Bee Farm a couple of weeks ago and picked up some of their brilliant honey. Well as if I wasn’t going to make mead with it!


I won’t bore you too long with the history, I hate those blogs that spend half a page on it before you get to the recipe. If you want to know more that’s what Wikipedia is for. But anyway, mead is probably the oldest alcoholic drink in Sussex, perhaps the world. It’s basically just honey dissolved in water and fermented, with perhaps a few herbs added for taste. Saxons were big fans of it apparently.

Right, on with the mead. I will be doing a few of these how to make booze posts on the blog and it is assumed that there are a few basics that you’ll need to have down before we begin. There are countless books and forums on the subject, but most important is sterilisation. With any homemade booze you need to be anal about keeping things clean and sterile. I suggest you buy some good homebrew steriliser like VWP and have a good read of the label before you use it.

The ingredients for this mead are:

3lbs honey
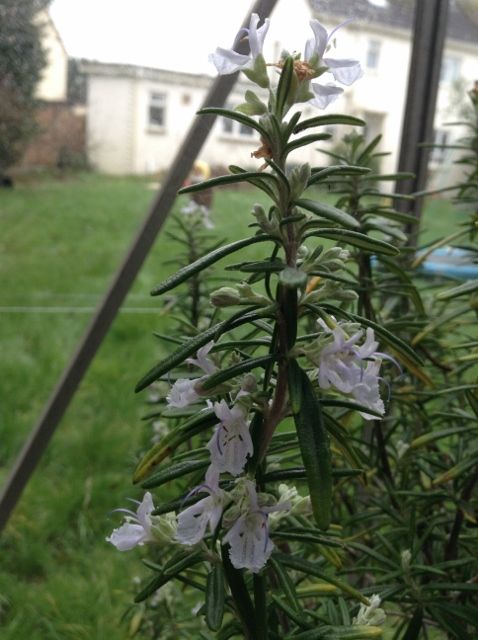
A couple of sprigs of rosemary
A lemon
Some fresh ginger
A slice of bread
Fresh yeast


And the kit you’re going to need today is:

Steriliser
A demijohn
A funnel
An airlock and bung
A solid bung without the hole for the airlock
A kettle
1 camden tablet
A knife

You can get fresh yeast if you go up to the bakers in a supermarket and hang around annoyingly until someone comes to see what you want. Usually it’s free! But if you can’t get any or the supermarket are being tight you can substitute the bread and yeast for a packet of dried gervin yeast that you’ll be able to pick up anywhere there’s brewing gear. I get mine from the garden centre or Wilkinsons.


Sterilise all your equipment. Sterilise the airlock and bung in a bowl and keep the water in the bowl to fill the airlock when you get round to fitting it.

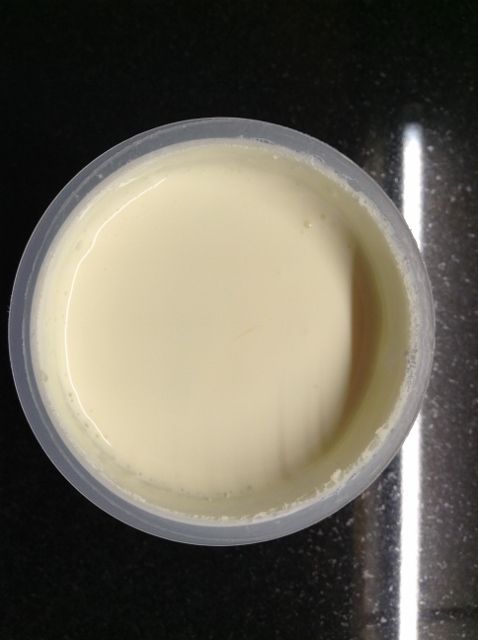
Pour the honey down the funnel into your sterilised demijohn. The viscous nature of honey makes watching it goo into a funnel and down into the demijohn hypnotic.


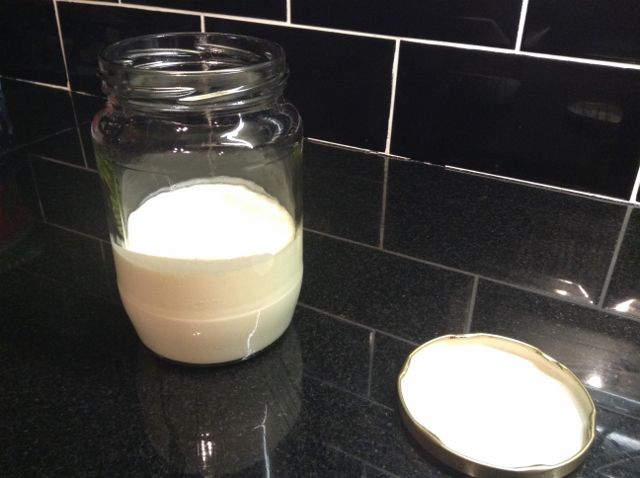
Pour in a kettle of boiling water and dissolve all the honey. Put the solid bung in the top and shake it all about until there is nothing sticking to the side of the demijohn.

Get the rest of your ingredients together and add them to the demijohn. Cut the lemon into 8ths and slice up the ginger. Remember to cut everything up small enough, if you have to force it into the demijohn think how you’re going to get it out again. My rosemary is sat in my greenhouse flowering at the moment. You may have to buy some if yours isn’t looking too clever in the winter.


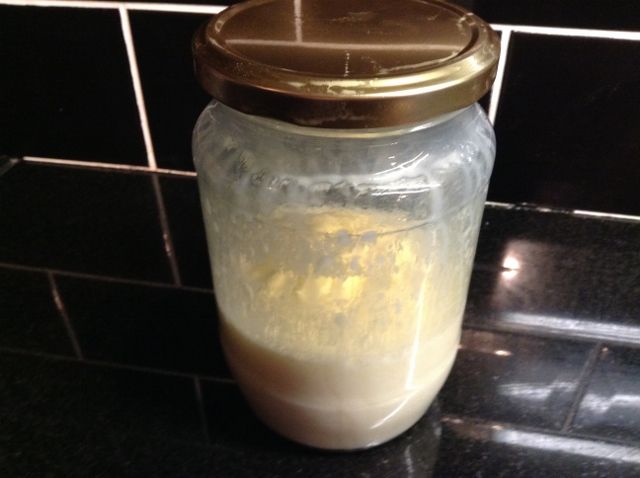
Now top up with cold water to the gallon mark (about where the demijohn starts curving to the mouth usually). Put the solid bung back in and swirl it all around again.

Make sure it isn’t too hot, it should feel just about room temperature to the touch on the sides of the glass, not warm.

Pop in a campden tablet, these take the risk out of homemade wine making, available from all the usual homebrew sales places alongside yeast and steriliser. They remove the oxidants from the mead and help prevent it spoiling. My wines improved over night after I started using these. Crush it under a glass and pour it in.


Spread the yeast on a slice of bread, cut it into strips and poke it down into the demijohn. If the yeast is rubbery and dry then it’ll only need a drop of water to make it spreadable on the bread.


Half fill the airlock with sterilised water and put it on the demijohn.


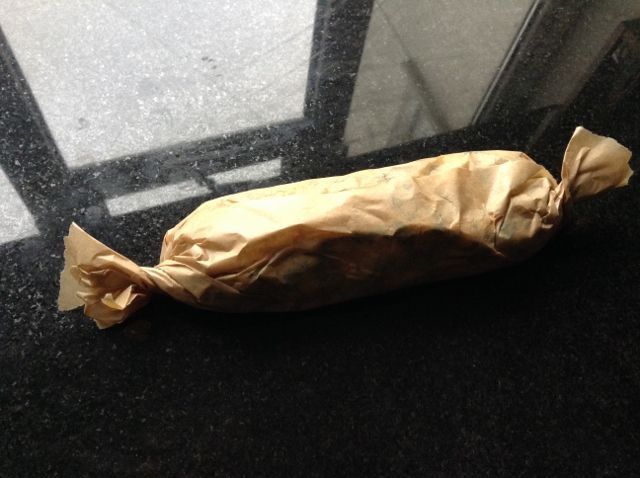
Now the waiting. Leave it in a dark place, as light will hinder the yeasts work. I’m using a brown demijohn so I don’t need to worry about this, but if you’re using a clear one put it in the cupboard, and if you don’t have cupboard space just stick a black bag over it. Very soon, if not immediately, it’ll start bubbling through the airlock.


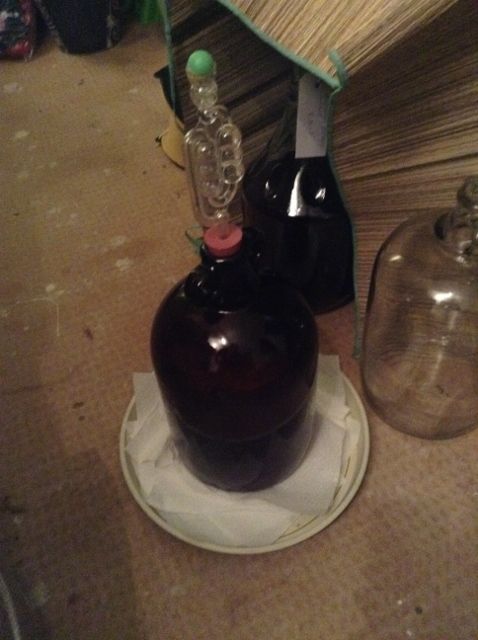
Note the tray underneath. I’ve got a feeling this could go a bit mental and bubble up through the airlock. If that happens take out the airlock, clean it and replace. Otherwise it’s going to smell something rotten.

Part 2 of the mead will come next month and you’ll need another demijohn and a syphoning tube. In the meantime keep an eye on this one every now and then, it should be slowly bubbling through and it’ll slow down and maybe even stop after a while. As long as you get a good 2 or 3 weeks fermenting out of it though that’s all good.

Friday 22 January 2016

Butter

OK, so making butter might seem a bit of a faff and not something you'd usually do at home, but it's something I enjoy for 4 reasons. 1 - I like making my own compund butters, 2 - I have excess buttermilk for other dishes, 3 - its a great workout! and 4 - I just like seeing where my food comes from. Things like making butter is a bit of a lost art in my opinion.

Luckily you don't need a butter churn, or any other kind of flash gadget, all you need to make a small amount of butter at home is a large glass jar.The only ingredient you need is double cream (or heavy cream as I think it's called in some parts of the world). Thats it. We'll get onto seasonings and stuff in a bit. Don't buy milk, it won't work. Don't by single cream, it won't work.


Pour the cream into the jar so it's half full. Put the lid on tight. Now shake. Shake lots. Really lots.


At first you'll hear a splashing sound, after a while that will stop and it'll go silent. At this point you've made whipped cream and the jar will be opaque white.


After a lot more shaking it'll start sounding slushy again and eventually you'll hear and feel something thudding around in the jar. That's butter, and the liquid it's sloshing about in is buttermilk.


Congratulations, wipe the sweat from your brow. It'll probably take around 10 to 15 minutes hard shaking to get to this stage. You've done the hard work, now to wash it. Pour out and reserve the buttermilk, leaving the lump of butter inside. Fill the jar with cold water and slosh it around. Pour the water out and repeat until the water in the jar is clear.


The aim is to get as much buttermilk out of the butter as possible, as leaving it in there will cause the butter to go rancid and it won't keep as long. So now tip your butter out onto a flat surface, like maybe a chopping board or plate (in my case a black one so I can see the white liquid better) and press out the buttermilk with the back of a wooden spoon. Get as much out as you possibly can.


Once thats done, your butter is probably going to need some cooling down after all that handling, so put it in the fridge to firm up a bit. Out of 300ml of cream I got 160g of butter and 120ml buttermilk.


Now you have a finished unsalted butter, but rather than stop there lets fancy it up a bit. By mixing in a few ingredients we can turn this into a maitre d'hotel butter. Take the butter out of the fridge before it goes too hard and add the following ingredients:
Half a tsp of paprika
Juice of quarter a lemon
About a tablespoon of finely chopped parsley
Pepper


Mix all them in and dollop the butter onto a bit of greaseproof (baking) paper.


Roll the butter up into a sausage shape and twist the ends to make it into a bonbon shape.


Now put this back in the fridge to harden. Leave it overnight to harden and for the flavours to develop a bit. In the morning you can treat yourself to some fancy butter.

This is amazing for cooking with, particularly fish or chicken.


Now, about that buttermilk. This stuff is perfect for poaching fish or chicken in, or you might want to use it to make an irish soda bread:

For that you'll need:

210ml Buttermilk
125g Plain flour
125g Wholemeal flour
1/2 tsp bicarbonate of soda
1/2 tsp salt


Mix up the dry ingredients and pour in the buttermilk. Gently mix it up into a sticky dough, the secret to a good soda bread is not to be too rough handling it and to work as quickly as you can. Tip onto a floured surface and quickly work the dough by gently folding it until it's smooth and well mixed. Shape it into a ball and put it on a floured baking tray, press down gently with your hand to flatten slightly, then make two deep cuts in a cross.


Bake it in a preheated oven at 200degC for 30 minutes. When it's done eat it as soon as possible, you can spread your home made butter on it!


You can make a whole bunch of other compound butters of course, the most useful I can think of is garlic butter, just salt the butter, add a couple of tablespoons of chopped parsley and mix in the best part of a bulb of garlic, or as much to your taste. You can use it to stuff a chicken breast...


you can cook mushrooms in it...


you can spread it on a pizza base and make garlic bread.

or you could slice a potato and put it between the slices to make hassleback potatoes.

There are plenty of other flavoured butters to try. Just pre-load the butter with whatever fresh herbs you like to use, maybe a tarragon one for cooking chicken, or rosemary for lamb. Season with a bit of fresh salt and pepper, coarse sea salt adds a lovely texture, and maybe even some spice such as chilli or nutmeg.

Friday 15 January 2016

Paynes

So I’ve chosen perhaps a slightly different producer to write about first, not a greengrocers or a butchers, but a bee farm. Paynes Bee Farm is tucked right out the way down a secret path off Hassocks Road, in Hassocks. Blink and you’d miss it, but look out for the white sign (on the left if you’re coming from Hurstpierpoint and on the right if you’re driving from Hassocks). If you are without car then train to Hassocks station and walk West for about 20 mins or so.


Paynes was started by Fred Payne in 1922 and operate lots of hives all over Sussex. They're suppliers of bee keeping equipment, helping out beekeepers from all over. It's not uncommon to see someone from out of town in the shop picking up their beekeeping essentials, last time I was there it was a couple from Birmingham. But I'm there of course for their great honey, and so many varieties to choose from:
Heather honey (so distinctive and great tasting)
Hungarian acacia honey
Greek honey - the best simply drizzled over strawberries and greek yoghurt
Mexican honey
and Manuka honey, famous the world over for its antibacterial properties


Second, where can you buy this much honey in one go! 3lbs of blossom honey (which admittedly is an imported variety and not their own) is £5.80. It’s still a perfectly good honey though.


Having visited Paynes, seen the hives and bought my locally produced honey, made from the bees and flowers of Sussex I’m back home and ready to make something with this great tasting product, provided I haven’t drunk half the jar like Winnie the Pooh fresh out of rehab.


I thought long and hard about what to make to show off the honey, I thought it might get a bit lost in a cake and it's not really the time of year for a salad, so I ended up doing baklava. First time making it, but it was so easy it won't be the last. If you flood your house with nuts over Chistmas then this could be a good way to use up any leftover.

The ingredients for this recipe are:
200g pistachio nuts
200g walnuts
Filo pastry
1/2 tsp ground cinnamon
Butter
and one jar of lovely honey

Most baklava recipes I found used syrup instead of honey, it was a struggle to find one with honey in, let alone one that used it in any reasonable amount. So I just ditched all the sugar from a basic recipe and replaced with honey.

I started by preparing the nuts. I'd never realised how colourful pistachios are. I took out a handful and chopped them by hand, so there's a bit of texture in there. The rest I put in a blender which ground them a bit finer.


Into the nut mix I put a teaspoon of cinnamon. Here's the time to be a bit more creative if you'd like. A couple of recipes I saw mentioned putting ground cloves in there, and I would imagine a little cardamon would make a nice addition.

Next I got to work on the filo pastry. Cut it to the size of the baking tin you're using and cover it with cling film to stop it drying out while you're working.


Now the fun part. Melt a bit of butter and brush it all over the bottom of your baking tin. Then take 2 sheets of filo and lay it on top. Brush again, layer another 2, repeat another 2 times so you have a bottom layer of 8 sheets of filo pastry. Then brush the top of that with more butter. Now take some of your nut mix and sprinkle it evenly over the pastry. When it's all over drizzle honey evenly all over.


Keep doing this to get as many layers as you can out of your mix. I managed 4, but traditionally I think it's about 8.

When you're done cut the baklava. Cut diagonally first, then lengthways so you get little diamonds.


Bake in the middle of a preheated over at 160degC for about an hour, but check it to make sure it doesn't burn.

When it's done take it out, cool it a little and remove the finished baklava from the tin. Drizzle a little more honey on top and add a pinch of ground pistachio. Done.


If somehow you don't eat them all immediately it'll keep in airtight containers for a few days.

Friday 8 January 2016

Pasta

I have to admit that not always do homemade versions of things that you'd probably ordinarily buy work out better, pasta however is definitely one of the things that does. I'm quite the carnivore, but when we feel like having a real treat dinner, the sort of sit at the table and light the candle type, then one of the tastiest meals we do is also one of the cheapest - pasta al pomodoro.

Now if you're lucky enough to have a pasta machine like me then you're probably pretty adept at making pasta already, for those of you without though there is the alternative method of using a rolling pin. I should stress though that the best results will come with a machine. Buy one, it's honestly a good investment.


Making the dough

All you need is eggs and flour. Get the 00 grade pasta flour. Weigh out 100g of flour, make a well in the centre and crack 1 large egg into it. I find that a 1 egg pasta will feed 2 people, so delicious home made pasta really is quite affordable.


Now scramble the egg and start working it into the flour, get your fingers in and work it into a dough. Kneed it as you would bread dough, a bit of worked gluten will make the pasta much easier to roll thinly. Keep adding flour to the surface and working the dough in it until it is not at all sticky or tacky. Pasta dough must be totally dry to the touch and not stick to anything.

Once that's done wrap it in cling film and leave it in the fridge to cool and rest. After 15 mins or so it'll be ready to get out and put through the pasta machine.


Cut the dough in half, take one of the halves, flatten it a bit and run it through the lowest setting a few times.


Now work down through the grades to however thin you want, if you're feeling dexterous try looping it. Eventually you should have a nice long thin sheet of pasta.


If you've rolled out a sheet of pasta that you're not going to work on just yet then flour the surface under it to stop it sticking and put some cling film over the top to stop it drying out. Any off cuts from your pasta can be bunched up together and run through the machine again. If you like, you can make pasta a couple of days in advance, leave it to dry (hanging over coat hangers is a good way) and store it in an airtight container. As it contains egg I tend to keep the container in the fridge.


Now here's a few of the things you can do once you've got a basic pasta down...

Tagliatelle

I find this to be the most versitile pasta. It's great with a simple sauce or with something a bit richer like carbonarra. To make it you just roll out your sheet, the fix the cutter attachment to the machine.


I've seen some pretty cool rolling pin type things as well that cut to size as you roll. So if you don't have a cutter, or you've chosen to roll the pasta out with a rolling pin then you could invest in one of these. If you've made your pasta well it'll just cut to a bunch of nice neat ribbons.


Mushroom and garlic tortellini

Finely dice some mushrooms and fry them in garlic butter with salt, some parsley, black pepper, a dash of lemon juice and a pinch of sugar.


Cook them right through, and when they're cooked turn off the heat a add a desert spoon of pasta flour to make it into a sticky paste. This will make it easier to spoon into the tortellini.

Roll out the pasta to quite thin. You should be able to see your hand through it. Take a round cutter and cut a circle out of the pasta sheet and add a small amount of the now cool mushroom mix in the centre.


Brush some beaten egg around half the outside and fold the other half over and on to it to make a semi circle. Don't use water to glue it by the way, it doesn't work.


Now bring the two ends of the semi circle round to meet each other and fold the top back to complete the tortellini.


Cook them straight away or dust them with a little flour to stop them sticking and keep them in a tub in the fridge ready to cook.


Oxtail ragu on pappardelle

For the pappardelle, roll out the pasta to your desired thickness. Quite thin would be good but this will be a fairly gutsy dish so don't worry about it being paper thin. Now cut into strips about 3/4 - 1 inch wide.


For the ragu you will need:

100g Pancetta
50g Butter
A carrot
A stick of celery
An onion
3 tsp dried oregano
3 tsp dried thyme
1 kg of oxtail, of beef short ribs, or if you can't get that 600g chuck steak
100ml white wine
450ml Beef stock
2 tbsp Tomato purée
Salt
Pepper
1/2 tsp nutmeg


For my ragu I used the slow cooker. I started off by cooking the pancetta in the butter on a high heat for about 10 mins.


Then I added the mirepoix (carrot, celery and onion diced) and the herbs. I cooked these until the onions were sweated. Then I stirred in the tomato purée.


The beef I seared in a frying pan until browned all over. This looks like a lot of beef but there is bone and fat in this and both those will be removed from the final dish.


After my oxtail had been seared I added it in to the slow cooker, then cleansed the pan with the wine before adding that as well.


I let everything get back up to full temperature before pouring in the beef stock and seasoning with the salt, pepper and nutmeg.


Then I let it get back up to temperature again and turned the heat down to medium. The ragu will need a good 6 hours. During cooking skim off any excess fat which will rise to the surface, remember to be responsible and put the fat in a container and bin it, don't pour it down the sink. As the beef cooks the meat can be shredded from the bone using a fork and spoon, I managed to remove 200g fat and 250g bone. The sauce will reduce if you leave the lid off for a bit. When it's done just cook the pappardelle in a bit of water with a spoonful of olive oil, which wont take long, and spoon the ragu on top.


Another one that's great to make with the kids is pasta bows

To make the pasta bows roll out the pasta and cut small rectangles that are twice as long as they are wide. Simply pinch the top to the bottom to make a bow. My daughter is a very fussy eater and she licks the bowl clean every time we make her pasta, there's nothing better than good homemade pasta.