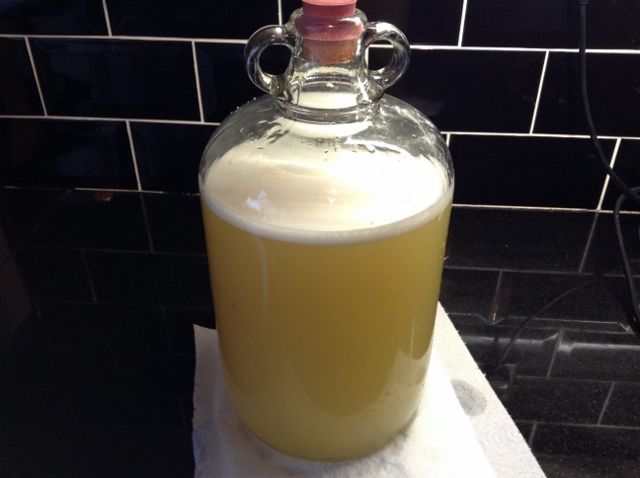
Cooking a good curry at home is really simple if you break it down to 1, 2, 3.
1. A good base sauce
2. Marinate in spice and cook
3. Finishing touches
A couple of things to make in advance...
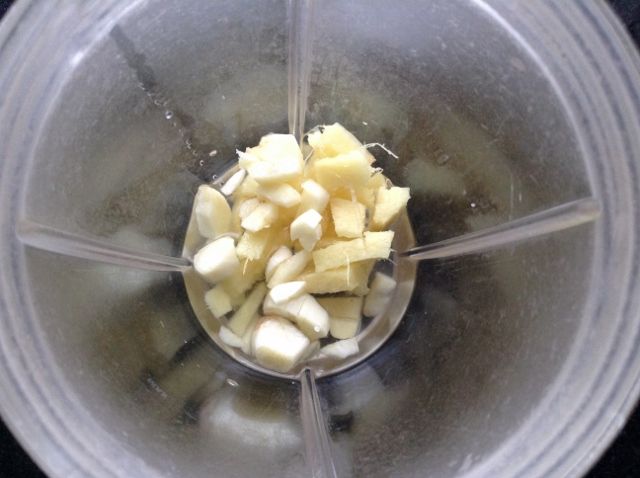
Garlic and ginger paste (if using)
Just blitz equal amounts of these in a blender to a smooth paste. You can add a little water to loosen if needed. Store this in jars in the freezer, or fridge if you're going to use it in a week. It's a shortcut for when you come to marinating your meat.
Curry powder and garam masala
See my post from 4th March
I'm going to do 2 curries: a lamb rogan josh and an almond infused chicken. Both use the same base sauce but the spice mix and finishing touches are different.
1. Base sauce
The base sauce is versatile and can be used in any of your curries. So make a big batch and make it good, then freeze it in individual portions. I'm making sauce for 2 curries here, about a litre of sauce which I'll freeze in 2 X 500ml batches.
You will need:
2 onions (big juicy white ones)
75g butter or 2-3 tbsp ghee
A stick of celery
2 carrots (or one massive one as these are pretty small)
1 tbsp chopped parsley
1 tbsp chopped coriander
2 tsp lemon juice
1 tsp brown sugar
1/2 tsp dried thyme
1/2 tsp mace
1 tsp chilli powder
2 heaped tsp of your curry powder
500ml chicken stock

Use the slow cooker for this, or a big saucepan if you don't have one. Start by cooking the onions in the butter until they've sweated down a bit.
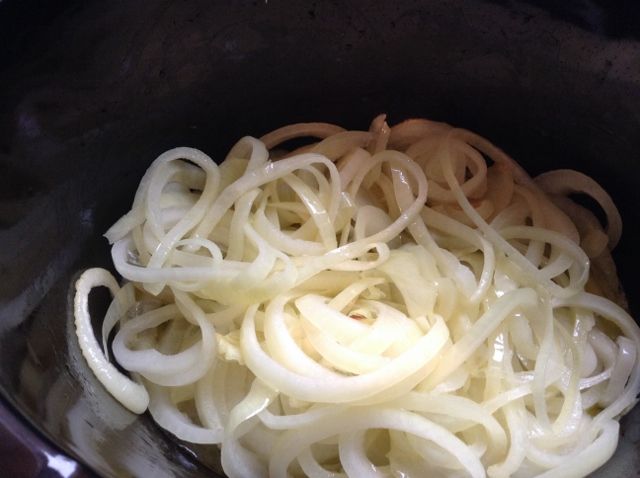
Then grate the carrot and dice the celery and add them. When they've cooked off a bit throw in the rest of the ingredients apart from the stock. Cook for another 10 minutes on a high heat and add the chicken stock.

Then turn it down to medium and leave it to simmer away for a few hours. Leave the lid off and let it reduce and thicken. The final step to your curry sauce is to blend it until smooth, after which you can decide whether it needs further thickening by reducing.

Right now you have a perfectly good sauce, just like the one you pour over your chips (you bloody heathen), but today separate it into 2 storage tubs, let it cool and freeze it.
On to the curries...
Lamb Rogan Josh
2. The spice mix and the cooking
-2 cloves of garlic
- 1 thumb sized piece of ginger
(Or 3 teaspoons of ginger and garlic paste)
- 1/2 tsp of chilli powder (more or less depending on how hot you like it)
And...
- 1/2 tsp asafoetida
- 1/2 tsp cumin seeds
- 3 cloves
- 3 cardamom pods
- 1 inch of cinnamon stick
Or...
2 tsp your home made garam masala
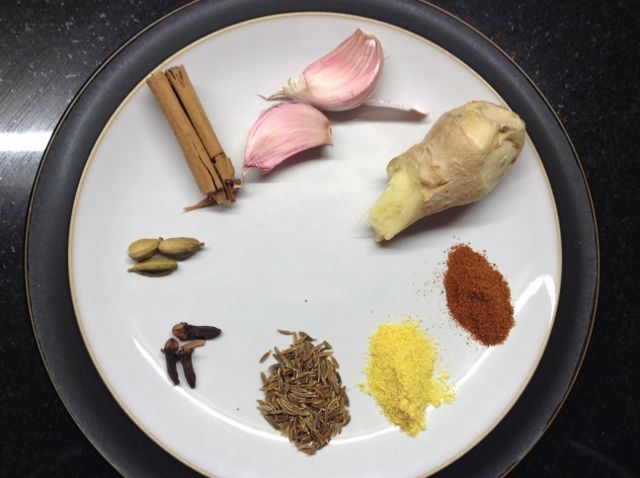
So if you haven't made garam masala split the cardamom pods and grind everything up in a pestle and mortar. I did all the dry ingredients first before mincing the garlic and ginger and smashing them into the ground spice. If you have made garam masala and garlic and ginger paste then just add the two together.
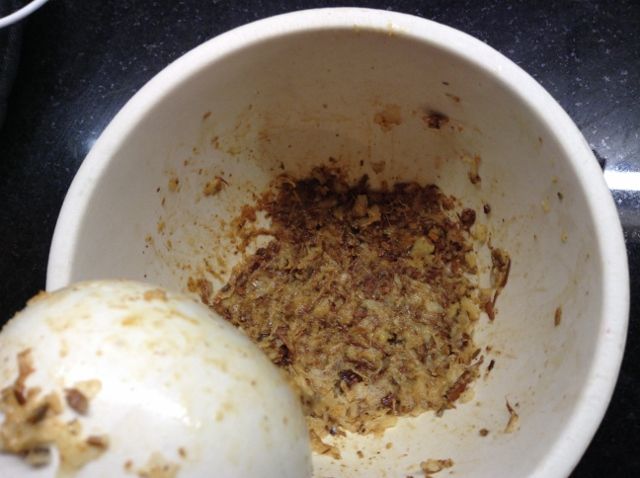
Mix in with a tablespoon of tomato purée and coat the lamb completely with the paste.

I used diced lamb leg for this, but if you're cooking for a long period of time any cut will do to be honest. Neck especially is a great cut.
3. Cooking
Seal the lamb by frying it in butter or ghee. I cooked my curry in the slow cooker so I rinsed out the hot frying pan with a little bit of water once the lamb was out and added it to the slow cooker, as I don't want to leave any of that flavour behind in the pan. If I was cooking in a pot on the stove I would seal the meat in that and just add the sauce straight in on top of it.
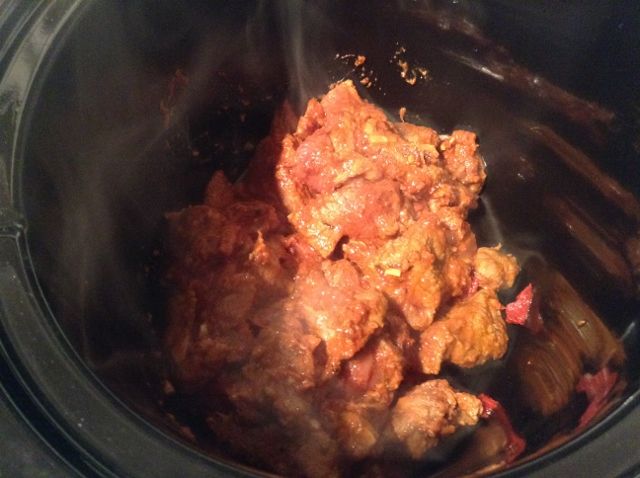
Now pour in your curry sauce and mix in another tablespoon of tomato purée. Turn the slow cooker on, walk away and wait for the house to smell amazing.
3. Finishing touches
When the lamb is falling apart tender it's time to finish this dish off. Fry some curry leaves in a little ghee and add them to the pot with some fresh chopped coriander. Stir in a spoonful of yoghurt and you're done.
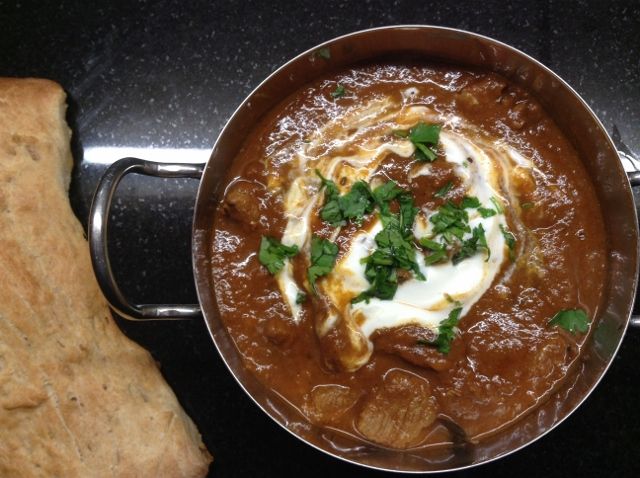
Almond Infused Chicken
2. The spice mix and the cooking
Nice and simple one. You don't want to overpower the dish and that amazing base sauce and home made garam masala is going to do most of the talking.
2 tsp garam masala
1 tbsp ginger garlic paste
Cut 2 chicken breasts into cubes about an inch thick and marinade it in the garam masala and paste over the course of the day.
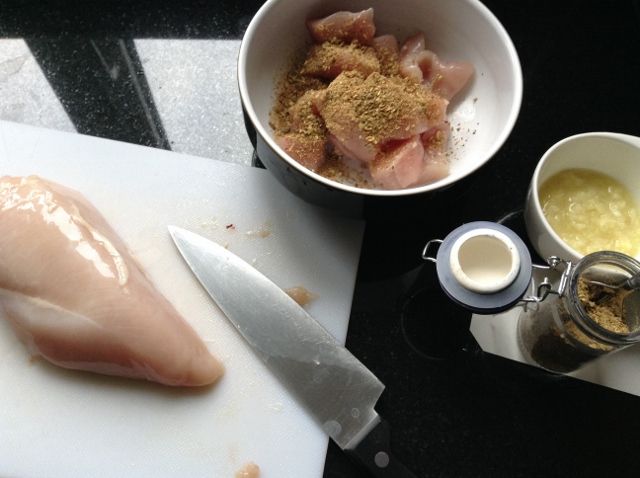
While you're at it finely chop some fresh mint and add about a tsp to 2 tbsp Greek yoghurt. That can infuse in the fridge too.
For the rest of this dish you will need:
2 tbsp ground almonds
Some veg oil
Butter
1/2 red onion, finely chopped
1 green chilli
Before you get started add a little water to the almonds to make a paste.
Heat 2 tbsp oil and a tbsp butter together in a big pan, add the onion and fry it until translucent. Add the chicken and all its marinate and sear it so it's white all over.
Prick holes all over the chilli with a sharp knife and throw it in. Pour in the base sauce and almond paste and bring it up to temperature before covering and turning down to a simmer.

3. Finishing touches
After 10 minutes add the yoghurt and stir with the lid off for another 10 mins.
Check to see the chicken is tender and the sauce is reduced enough then serve.
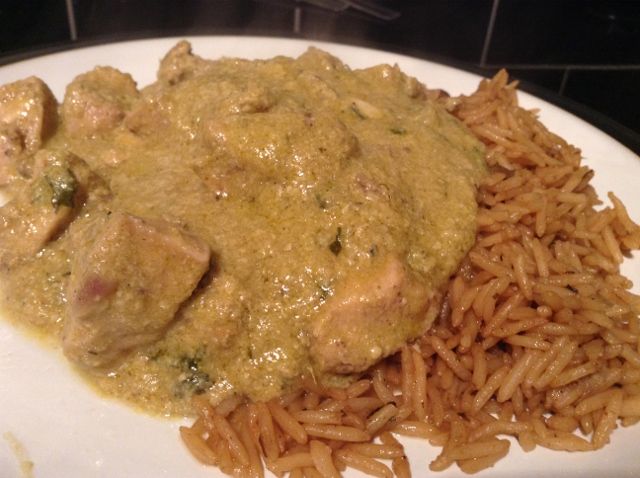
Of course you can buy ready made spice mixes in the supermarket, but in case you hadn't worked out my now I'm a bit of a slow food kinda guy and I love playing about in the kitchen, so naturally I made my own spice mixes.
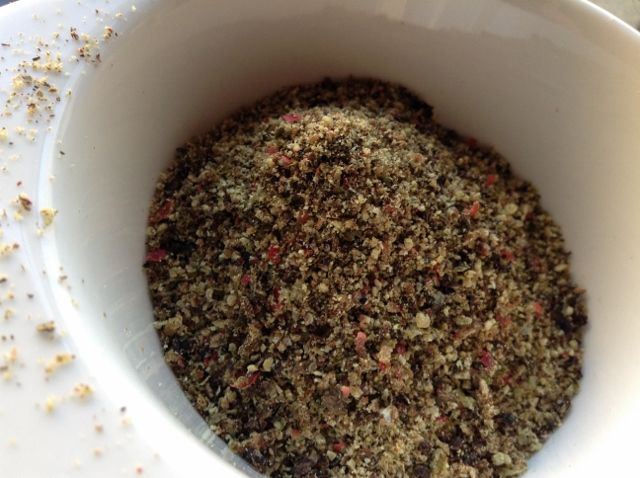
I'm going to do 3 common mixes in this post, just the ones I use most often, but before I do them I'm going to blend up an essential ingredient for all 3 - pepper. Seeing as pepper features in all the spice mixes and I use it on its own in pretty much everything I cook it makes sense to me that you take a bit of time getting the right blend. My pepper mix is made up of 4 different varieties: black, white, pink and green.

Now black pepper we all know, this is what we probably all use 99% of the time. White pepper is just the same as black pepper, but the skin is removed prior to drying which gives it less of a harsh flavour. That black pepper harshness is still important though so I'm using equal amounts of black and white, 2 tsp of each in this little batch. Then I'm using 1 tsp green and 1 tsp pink peppercorns. Green is the unripened berry of the plant and has a slightly sour note to it. Pink, being the ripened berry is sweeter and so it counters the green, it's a classic sweet and sour balance. I grind them all together in a spice grinder to a fine powder.
Now on to the mixes, starting with...
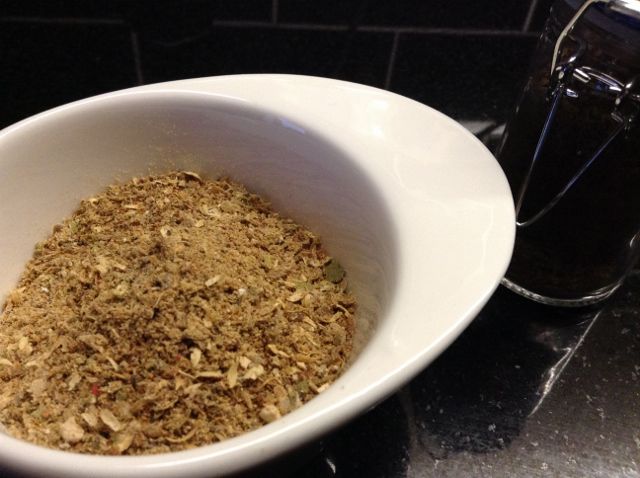
Garam masala
It's almost certain I don't make garam masala like anyone else, there's no hard and fast recipe for it as most seem to vary region to region and have been handed down through generations. Here's my take on it though, working round some of the central themes which include a large amount of coriander and cumin with cinnamon, cardamom and pepper added.
2 tbsp whole coriander seed
1 tbsp cumin seed
1 cinnamon stick
2 tsp cloves
5 bay leaves
6 black cardamom pods
8 green cardamom pods
1 tbsp pepper
2 tsp ginger powder
1/2 a nutmeg
1 tsp amchur powder
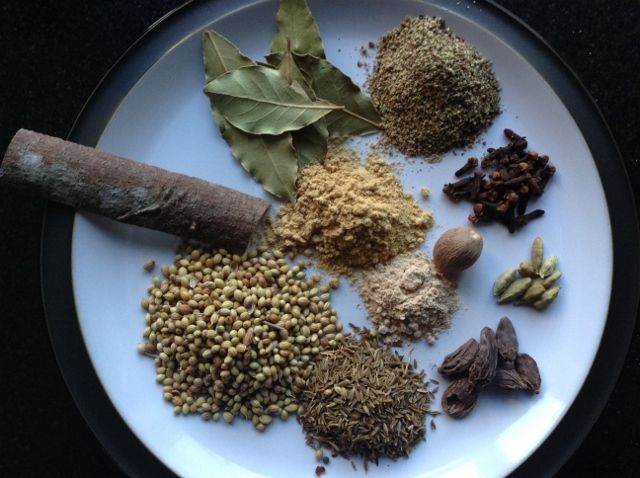
The amchur, ginger and the pepper are all as ground as they're going to get, so no need to add these to the spice grinder. The cinnamon, cloves and bay leaves are going to need a bit of working to make them small enough to get crunched up by the grinder so start them in a pestle and mortar.
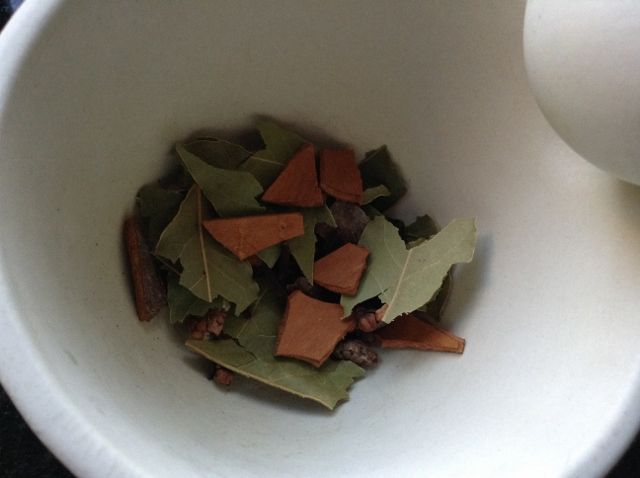
The nutmeg needs grating and adding to the grinder so that it can be ground to the same texture as the rest. The cardamom seeds are removed from their pods and added to the grinder along with the coriander and the cumin which just go straight in. If you can get these black cardamom then I thoroughly recommend them, they are larger and have a strong almost tobacco flavour to them. Add the crushed contents of your pestle and mortar and get to work.

This is an essential ingredient in Indian cuisine, but there's nothing says you can't mix a teaspoon of it into a tablespoon of mayonnaise or yoghurt to make a dip for crisps.
Next up is another important Indian mix:
Curry Powder
You wouldn't make a curry without curry powder.
1/2 tbsp cumin seed
1 tbsp coriander seed
1 tsp turmeric powder
1 whole dried chilli
1/2 tsp mustard seeds
1/2 tsp ginger powder
6 dry curry leaves
1/6 tsp asafoetida powder
3 green cardamom or 2 black cardamom pods
3 cloves
1 tsp pepper

Once again the chilli, cloves and curry leaves need starting of in the pestle and mortar.

The cardamom needs getting out of its pods and adding to the grinder, but the turmeric, ginger, asafoetida and pepper don't need grinding. Now here's the trick that will utterly transform your curry powder to something so much better than any thing you can buy in the shops, you simply toast the seeds before grinding. Place the mustard, coriander and cumin in a saucepan and heat until they smell toasted.

Mustard seeds have a tendency to pop like popcorn when you do this, the first time the first mustard seed starts thinking about jumping out the saucepan remove from the heat and pour straight out of the pan to stop the cooking. This releases some of the oils from the seeds which will now get ground with the rest of your spice and completely transform the flavour of the mix. Once ground up it smells amazing.

Curry powder is obviously essential in curry making, but sprinkled over potato and baked it makes a great side as well. Or if you're being all health sprinkle over cauliflower and bake.
Last up is my favourite, which luckily is also the easiest.
5 spice
Equal amounts of:
Star anise
Cloves
Pepper
Fennel seed
Cinnamon

Start the cinnamon, cloves and star anise off in the pestle and mortar and then grind it all to make 5 spice.
I couldn't imagine not having this stuff in the kitchen. I never ever cook pork without first smothering it in 5 spice. It also gets used all over duck or in any stir fry I do.

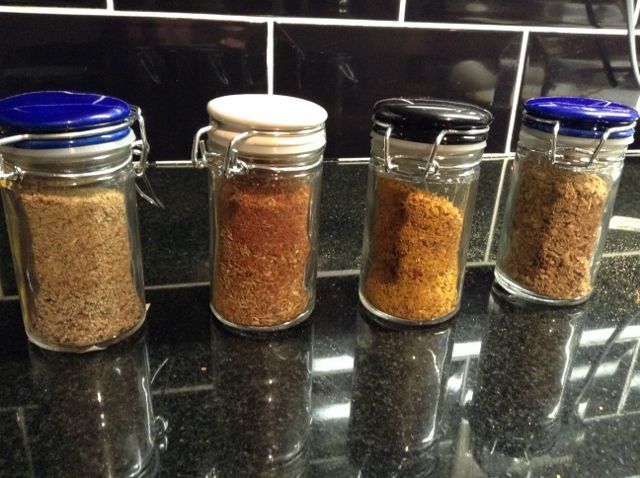
All done, 4 lovely pots of pepper, 5 spice, curry powder and garam masala, ready to grab next time I need them.
The fishing industry in England used to be much larger than it is now. For the South Coast tourism took over, and once a railway line was laid to Newhaven it became a major ferry port to Dieppe and Calais. However, where there's sea, there's fishing, and the fishing fleet of Newhaven supply to my local fishmonger. It makes sense to me that if you want the freshest fish going you need to head to the source.

West Quay Fisheries is where it's at. I'm telling you now that this is the freshest trading point for Newhaven fish with the widest selection, at least that I know of.

It's hard to know where to start. This is a temple go Channel Island fish right here.

I settled for a mackerel, some skate and some scallops. The fish is top quality, the eyes are black and clear, there's no smell of fish and some mackerel are still stiff fresh.

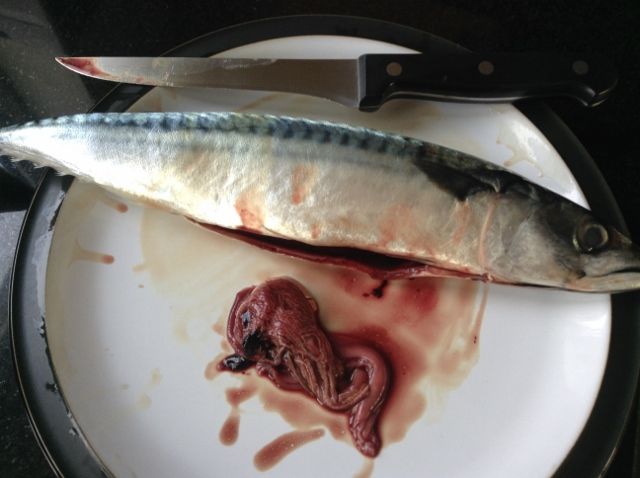
I started with the mackerel, this is my favourite fish from the British Isles. Just look at this beautiful fish.

So to gut it take a sharp filleting knife and slice from under the head back to the anus. Make a shallow cut and try not to damage the organs. Once you have it opened up slice off the intestinal tract at its end and cut away the rest at the head end. Be gentle so you don't actually burst anything inside the fish. Fish guts make good compost, that's where these have gone.
Now slice down the back, cutting just to the left of the spine and make a cut as close as you can to the head to remove the fillet.

Cut off the head and the tail and you will be able to lift out the spine along with most of the other bones.
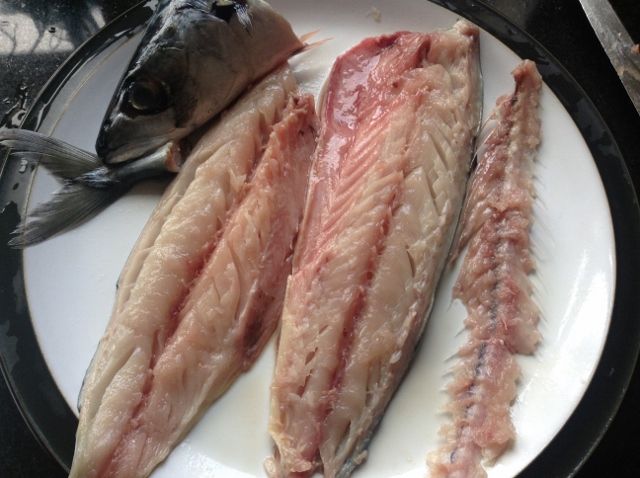
Now grab a pair of tweezers and pin bone the fillets. Once that's done all that remains is to neatly trim the fillets.
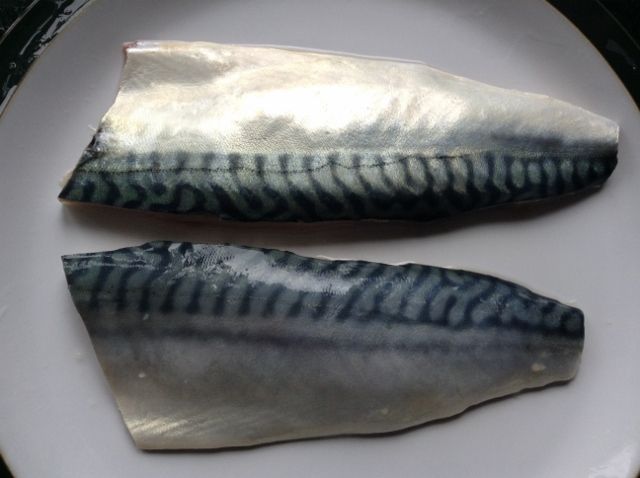
Sorry, I would have done a lovely complex recipe for these but they were so fresh and so good I really couldn't wait. I simply fried them in butter and ate them straight away.

Now it's the scallops turn. Just down the coast at rye you get some of the best scallops in England. Do them a favour, leave the roe on, it's just as tasty as the rest of the scallop.
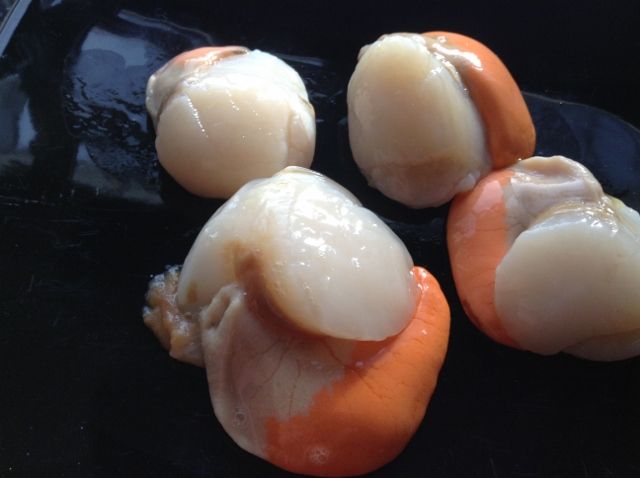
I'm cooking mine in the pan and I need...
Scallops
1/2 clove garlic
2 knobs of butter
50ml sherry
150ml double cream
1 rasher pancetta or bacon

Mince the garlic and fry in half the butter. Then add the scallops and fry until they're firm when you gently squeeze them.

Remove the scallops from the pan and add the sherry. Stand back as it's going to catch fire! Once the sherry has burnt all its booze off throw in the rest of the butter and stir with a whisk until shiny and smooth. The butter you fried the scallops in should have burned slightly and given it a deep brown colour.
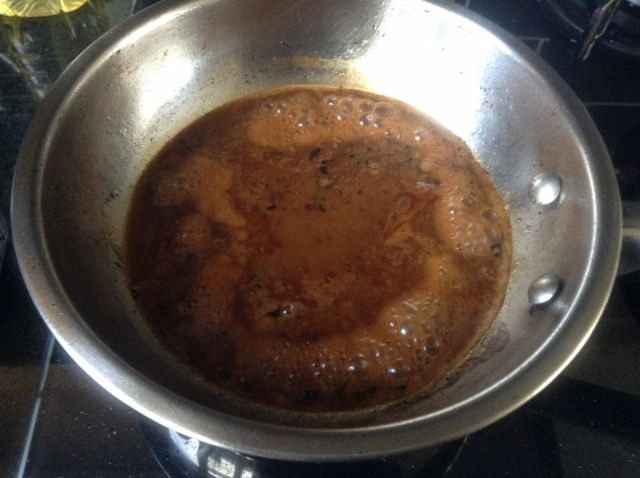
Now add the cream bit by bit, whisking in fast as you go. Whisk until smooth and bring the whole lot up to temperature so it's gently simmering. Something that goes stupidly well with scallops is bacon, it's a match made in heaven, you'd think pigs were aquatic. So grill a rasher of pancetta until crispy to put on top. Plate the scallops, the sauce and finish with the bacon. Amazing.

Last up is the skate.

To prepare the skate you need your knife and a pair of pliers (it's fine if you ask your fishmonger to to this bit, it's hassle). Make a small slit under the skin at the body end of the wing and use the pliers to rip the skin off.

Turn over and do the other side.

Now to cook it I suggest the classic way is the best. That is you slowly poach it in court bouillon. To make the court bouillon use 1.5 litres of water, 100 ml of lemon juice (about 1 lemon), a carrot, half an onion, 1/2 tsp parsley, 1/2 tsp thyme, 1/2 tsp salt, 1 clove and a bay leaf. Bring that to the boil then turn down and put in the skate.

When it's done it flakes away beautifully. Gently lift it out the pan and onto a hot plate. Finish with a beurre noisette (that is butter thats been burnt on the stove until it turns a nut brown colour) and some capers.
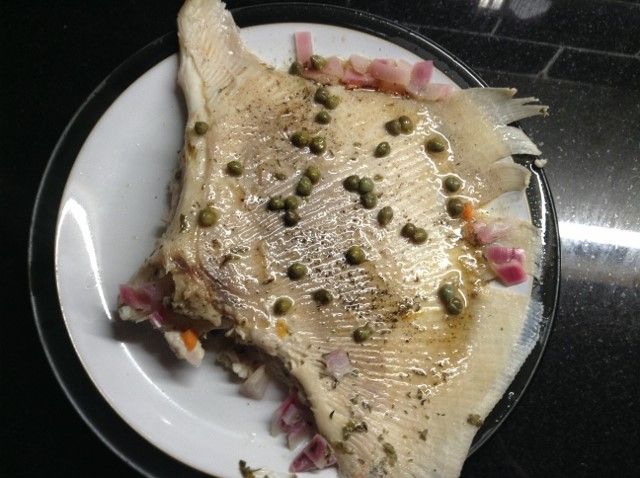
Obviously the best way to ensure you've got the freshesh fish available is to catch it yourself, and living by the sea thats something I can do, but I'll be leaving it till a little later in the year when the weather improves and the season starts. In the meantime I'm happy to leave it to the pros in Newhaven.


